6 min to read
Building My Own Blog Site with Jekyll
How I combined tech, film, hiking, sport, and music into a personal blog
Why I Chose Jekyll for My Blog
Creating your own blog gives you full control over content, design, and performance. I wanted a platform that:
- Is lightweight and fast ✅
- Supports Markdown content naturally 📄
- Allows full customization without relying on WordPress or hosted platforms 🎨
- Integrates easily with GitHub Pages for free hosting 🌐
- Can showcase my interests: film, tech, hiking, sport, and music 🎬🚀🏞️⚽🎵
Jekyll is perfect because it’s a static site generator that converts Markdown posts into a fast, responsive website. Paired with the Jekflix theme, I can create a cinematic, modern design tailored to my content.
Pre-Requisites on macOS
To build a Jekyll site locally, you’ll need the following installed:
1️⃣ Install Homebrew (if not already installed)
Homebrew helps manage software packages on a Mac.
/bin/bash -c "$(curl -fsSL https://raw.githubusercontent.com/Homebrew/install/HEAD/install.sh)"
2️⃣ Install Ruby
macOS comes with Ruby pre-installed, but it’s better to use a managed version:
brew install ruby
Add Ruby to your path:
echo 'export PATH="/usr/local/opt/ruby/bin:$PATH"' >> ~/.zshrc
source ~/.zshrc
Verify installation:
ruby -v
3️⃣ Install Jekyll and Bundler
Bundler manages Ruby gems (libraries) and ensures your project uses compatible versions.
gem install --user-install bundler jekyll
Check versions:
jekyll -v
bundle -v
4️⃣ Create a New Jekyll Site
jekyll new my-blog
cd my-blog
Or if using your own theme like Jekflix then locate the repo on github for the theme you want to use:
git clone https://github.com/username/some-theme.git my-blog
cd my-blog
bundle install
You can also simply fork from a theme of your choice into your own repo
5️⃣ Serve Your Site Locally
bundle exec jekyll serve
Open http://localhost:4000 in your browser to see your site.
Optional:
On macOS, the system Ruby already has gem, but it might be outdated. Using brew install ruby ensures a modern version.
rbenvis a Ruby version manager.- It’s optional but very useful if you want:
- Multiple Ruby versions side by side
- Avoid conflicts with the system Ruby
- Consistency across different projects or team setups
- Installation (optional)
brew install rbenv
rbenv init
rbenv install 3.2.2   # example version
rbenv global 3.2.2
ruby -v
After installing via rbenv you’ll also use gem as usual, but it’s tied to the selected Ruby version.
✅ Summary
- You must have gem to install Jekyll.
- You only need
rbenvif you want version control over Ruby. For a personal blog on a Mac, it’s optional system Ruby usually works fine if you install Jekyll and Bundler.
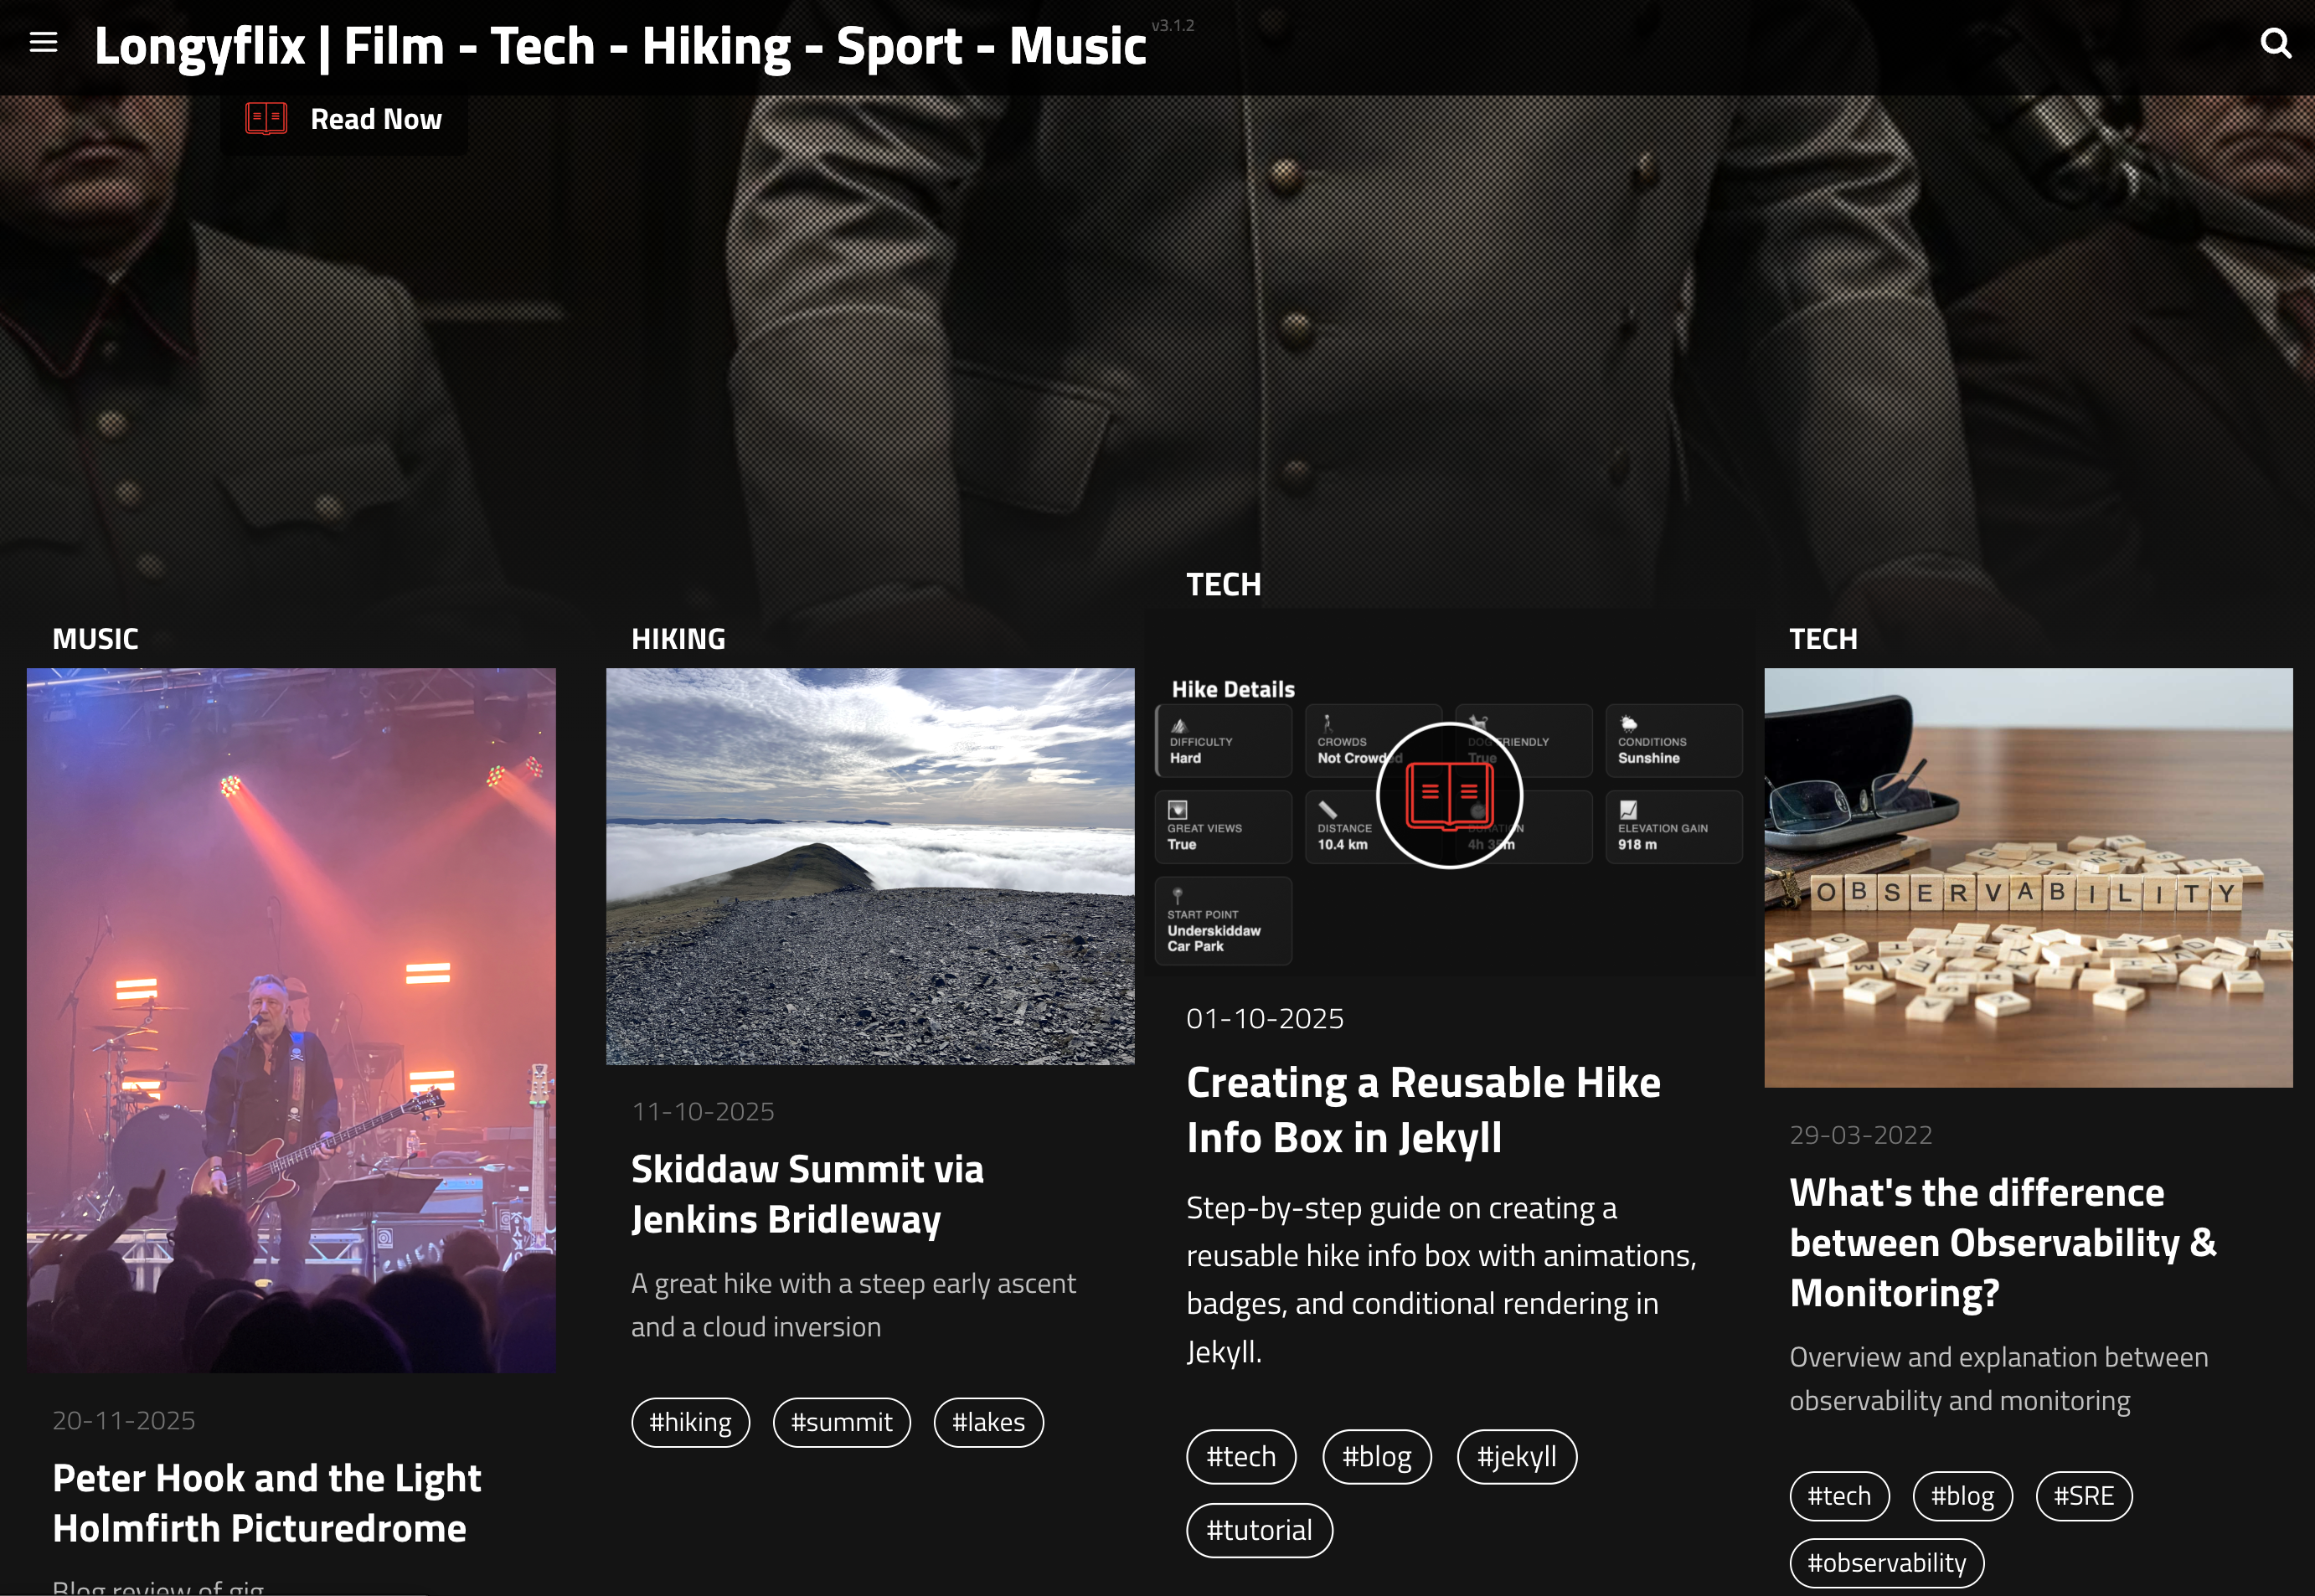
Structuring Content for Your Interests
I wanted my blog to reflect my passions:
- Film: reviews, recommendations, trailers
- Tech: tutorials, project builds, software experiments
- Hiking: trail reports, route guides, gear tips
- Sport: match reviews, personal challenges, training tips
- Music: gig reviews, playlists, artist highlights
Using modular includes like film-info-box.html and hike-box.html, I can display metadata in a structured, visually appealing way, making each post feel like a mini showcase.
Benefits of Running Your Own Blog
- Full control over design and content and no arbitrary restrictions.
- Fast, lightweight static site no heavy CMS slowing down load times.
- Version controlled content using Git and GitHub keeps all posts safe.
- Learning opportunity managing Jekyll, Ruby, Git, and deployment teaches valuable skills.
- Customizable layout themes like Jekflix allow cinematic post cards, modular info boxes, and more.
The Advantages Of Going Static
- Simplicity Jekyll strips everything down to the bare minimum, eliminating a lot of complexity:
- No database Unlike WordPress and other content management systems (CMS), Jekyll doesn’t have a database. All posts and pages are converted to static HTML prior to publication. This is great for loading speed because no database calls are made when a page is loaded.
- No CMS Simply write all of your content in Markdown, and Jekyll will run it through templates to generate your static website. GitHub can serve as a CMS if needed because you can edit content on it.
- Fast Jekyll is fast because, being stripped down and without a database, you’re just serving up static pages. My base theme, Jekyll Now, makes only three HTTP requests — including the profile picture and social icons!
- Minimal Your Jekyll website will include absolutely no functionality or features that you aren’t using.
- Design control Spend less time wrestling with complex templates written by other people, and more time creating your own theme or customizing an uncomplicated base theme.
- Security The vast majority of vulnerabilities that affect platforms like WordPress don’t exist because Jekyll has no CMS, database or PHP. So, you don’t have to spend as much time installing security updates.
- Convenient hosting Convenient if you already use GitHub, that is. GitHub Pages will build and host your Jekyll website at no charge, while simultaneously handling version control.
Directory Structure
Here’s a snapshot of my Jekyll website’s directory structure:
/Users/longy/dev/coding/longyflix
├─ CNAME # Contains your custom domain name (optional)
├─ _config.yml # Jekyll's configuration flags
├─ _includes # Snippets of code that can be used throughout your templates
│  ├─ analytics.html
│  └─ disqus.html
├─ _layouts
│  ├─ default.html # The main template. Includes <head>, <navigation>, <footer>, etc
│  ├─ page.html # Static page layout
│  └─ post.html # Blog post layout
├─ _posts # All posts go in this directory!
│  └─ 2025-10-28-Hello-World.md
├─ _site # After Jekyll builds the website, it puts the static HTML output here. This is what's served!
│  ├─ CNAME
│  ├─ LICENSE
│  ├─ about.html
│  ├─ feed.xml
│  ├─ index.html
│  ├─ sitemap.xml
│  └─ style.css
├─ about.md # A static "About" page that I created.
├─ feed.xml # Powers the RSS feed
├─ assets/images # All of my images are stored here.
│  ├── first-post-header.jpg
├─ index.html # Home page layout
├─ scss # The Sass style sheets for my website
│  ├─ _highlights.scss
│  ├─ _reset.scss
│  ├─ _variables.scss
│  └─ style.scss
└── sitemap.xml # Site map for the website
Next Steps
Once your site is running locally, you can:
- Push it to GitHub Pages for free hosting
- Configure a custom domain
- Add Disqus or comments
- Tweak the theme for dark/light mode using CSS
- Build custom info boxes for films, hikes, music, and tech projects
Creating your own blog is a rewarding journey. With Jekyll, your site is fast, flexible, and future-proof, and you can grow it as your interests evolve. 🚀
See my blog post on creating a matching `hike-info-box.html` modular
include I have also mirrored this for a film-info-box


Comments